
This article will show you how to create a new sale when you land a new client.
You will create a new sale within PROSALE by following the steps below.
Step 1) Go to the Ongoing Sale list:
1. From the menu on the left side of the dashboard select Sales
2. Click Ongoing. This will show you a list of any current sales you have going on within your company.
3. Select Add New from the ongoing sale table

Step 2) Follow the "Sale Setup Wizard" workflow.
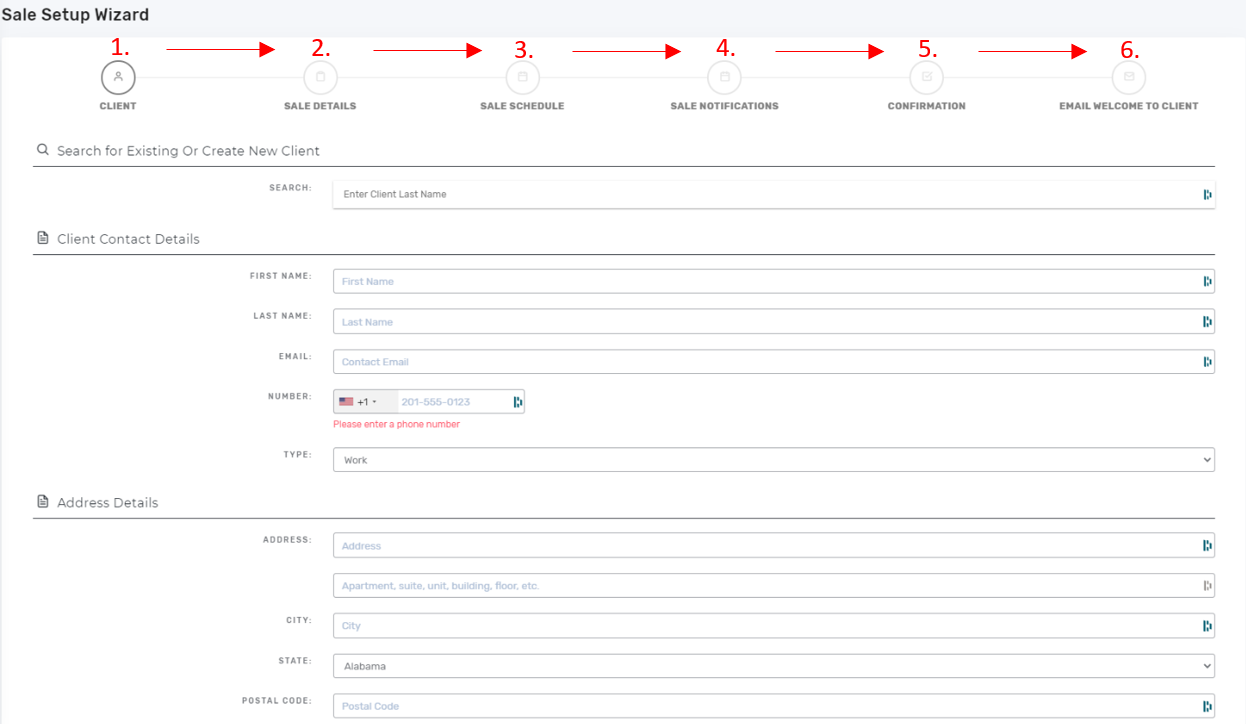
1. Client: You will enter your client's information here.
2. Sale Details: You will input all the details of the sale including the following:
Sale Name
Time Zone
Sale Type (currently the only option is residential)
Is Prospect?
Is Final?
Details
Tax Rate
Enable Buyers Fee
Buyer Fee
Enable Auction Mode?
Enable Auction Mode?
Use Zebra Printer to Print Receipts?
E-Commerce Options - Details here
Address of Sale
3. Sale Schedule: The sale schedule is where you will set the Setup Schedule, the actual Sale Schedule, and any unique discount groups that you want to be applied to this particular sale.
Setup Schedule
Sale Schedule
Discount Groups
4. Sale Notifications: The intention of the sale notifications is to help you improve your level of communication with your client that you are working for as well as your customer that you are selling to.
Send Weekly Email
One Day Prior to Setup
One Day Prior to Sale
ECommerce Email Receipt
5. Confirmation: The confirmation step is your chance to review the setup to make sure everything looks correct. Don't worry if you are missing some information. You can always edit the sale details and configurations later.
6. Email Welcome to Client: The welcome email is simply an email that you can send to your client when the sale setup is complete letting them know that everything is moving forward on your end. The welcome email helps to instill confidence with your client that you were the right pick!
Use this email editor fields to customize and format your email the way you would like it to be sent. You can also use the "Possible Merge Fields" to merge any information into the email that you have stored in the system.
Comments
0 comments
Please sign in to leave a comment.