
This article explains configuring your integrated Zebra ZQ320 or ZQ620 printer to print custom labels and receipts from PROSALE.
Note, default templates are always available and ready to use without configuration changes.
In your PROSALE site, choose your site settings.

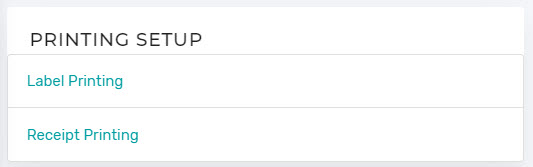
Under Printing Setup, access the print item you wish to customize.

Enable Customized Label Printing
Under Printing Setup choose Label Printing prior to starting the setup of the sale. Search for the appropriate sale in the dropdown menu.

To customize your labels, follow the instructions on the screen. Please note, this may require a good bit of testing on your end to achieve your desired results. HTML knowledge is required.
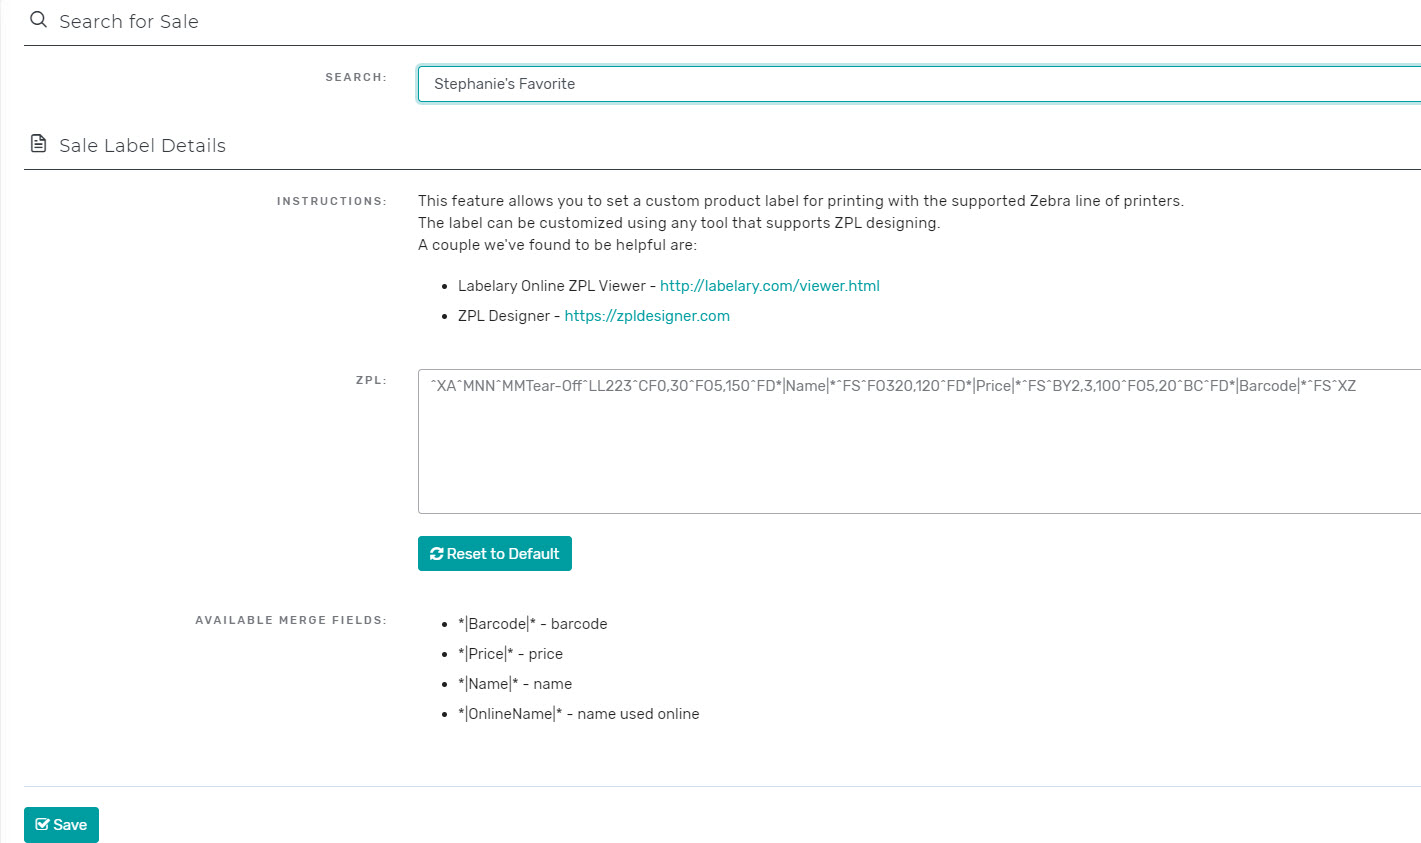
Be sure to hit Save at the bottom of the screen before exiting.
Load the printer with label stock and begin to inventory and complete the setup of your sale.
Enable Customized Receipt Printing
When your sale setup is complete, repeat the previous steps under Printing Setup choose Receipt Printing.
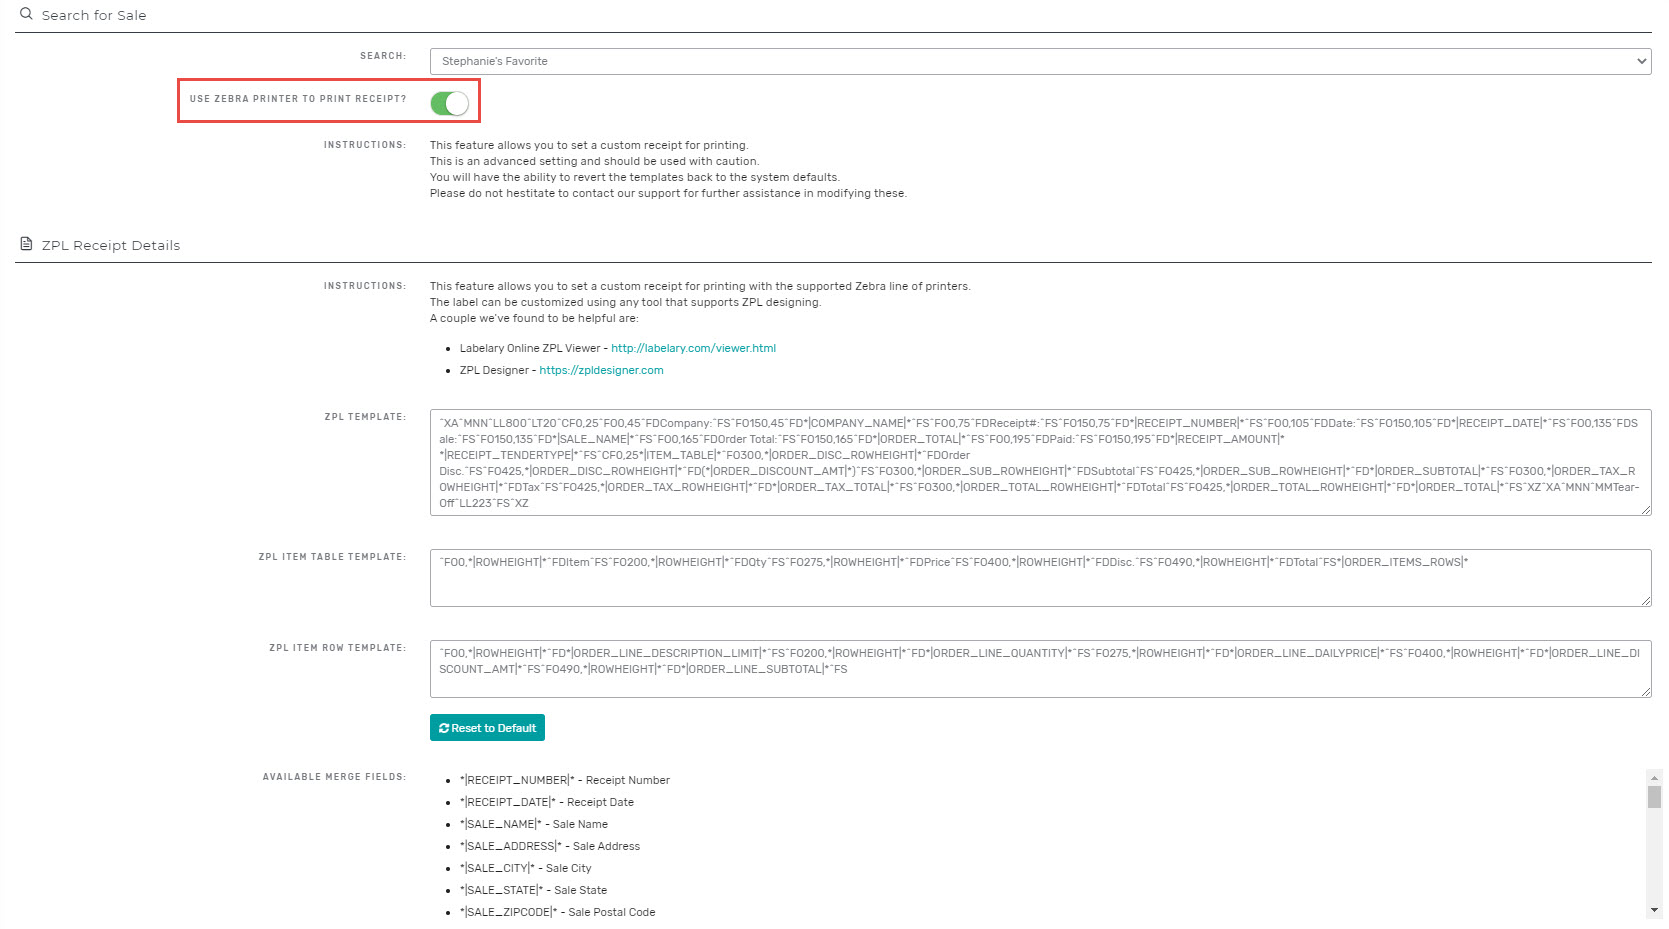
Search for the appropriate sale in the dropdown menu.
Be sure to click the toggle to Use Zebra Printer to Print Receipts. To customize your labels, follow the instructions on the screen. Please note, this may require a good bit of testing on your end to achieve your desired results. HTML knowledge is required.
Be sure to hit Save at the bottom of the screen before exiting.
Change the label stock to receipt paper. You are ready for your first customer.
Comments
0 comments
Please sign in to leave a comment.