
Printing to your Zebra printer from your iPad or iPhone is a simple three step process.
Step 1: Connect your device to the printer via Bluetooth.
Step 2: If you have not already downloaded the PROSALE Printer phone app, then download the PROSALE Printer app from the app store.
Step 3: Make sure you have closed the PROSALE Printer Phone App. From the Home Screen, swipe up from the bottom of the screen and pause in the middle of the screen and release. Swipe right or left to find the app that you want to close. Swipe up on the app's preview to close the app.
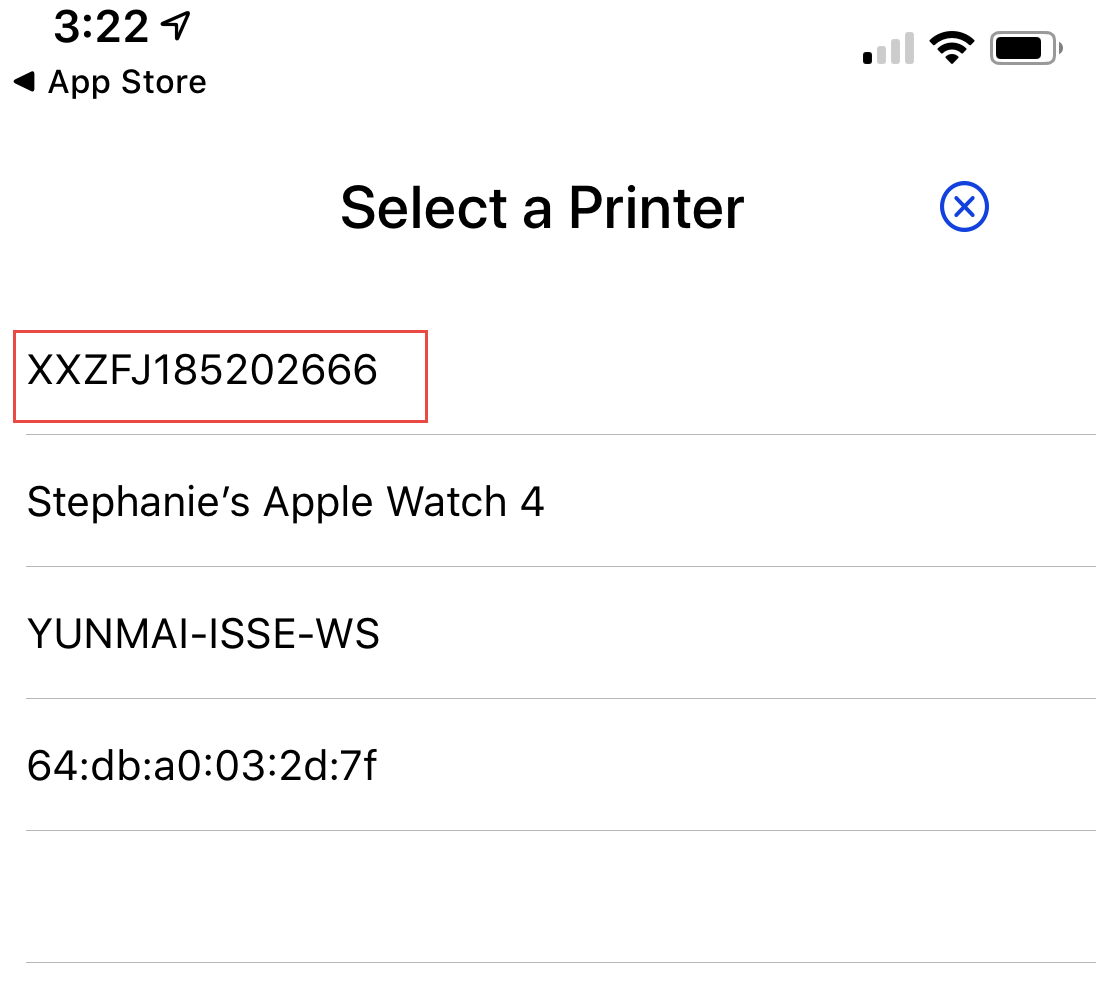
Step 4: Launch the PROSALE Printer app and select your connected printer.
Once these steps have been completed, you will be able to print labels and receipts from the PROSALE system.
We recommend you utilize iOS devices and Zebra printing with the Chrome browser.
Step 1: Connect your device to the printer via Bluetooth
- On your device, go to Settings > Bluetooth and turn on Bluetooth. Stay on this screen until you complete the steps to pair your printer.
- The Zebra ZQ320 will automatically be in Bluetooth discovery mode when it is turned on. Wait for it to appear on your device screen.
- To pair, tap your printer name when it appears onscreen. You might need to enter the PIN or confirm a passkey. If you aren't sure what your PIN or passkey is, check the documentation for your printer.
Step 2: Download the PROSALE Printer app from the app store - Click the following link and follow the device prompts to Download the app from the App Store. https://apps.apple.com/us/app/prosale-printer/id1510570310?ls=1
Step 3: Launch the PROSALE Printer app on your iPad or iPhone and select the connected printer.
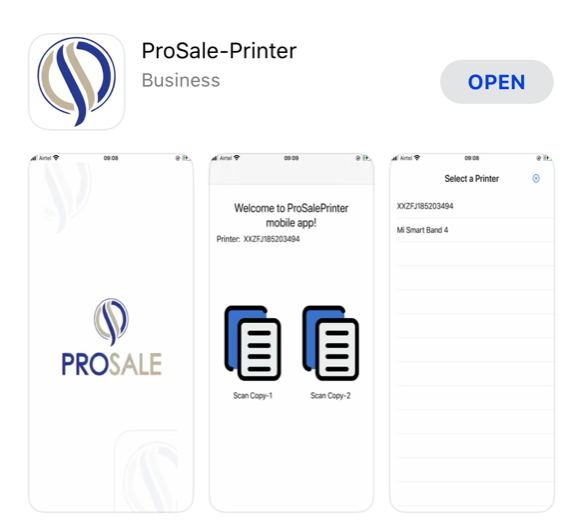
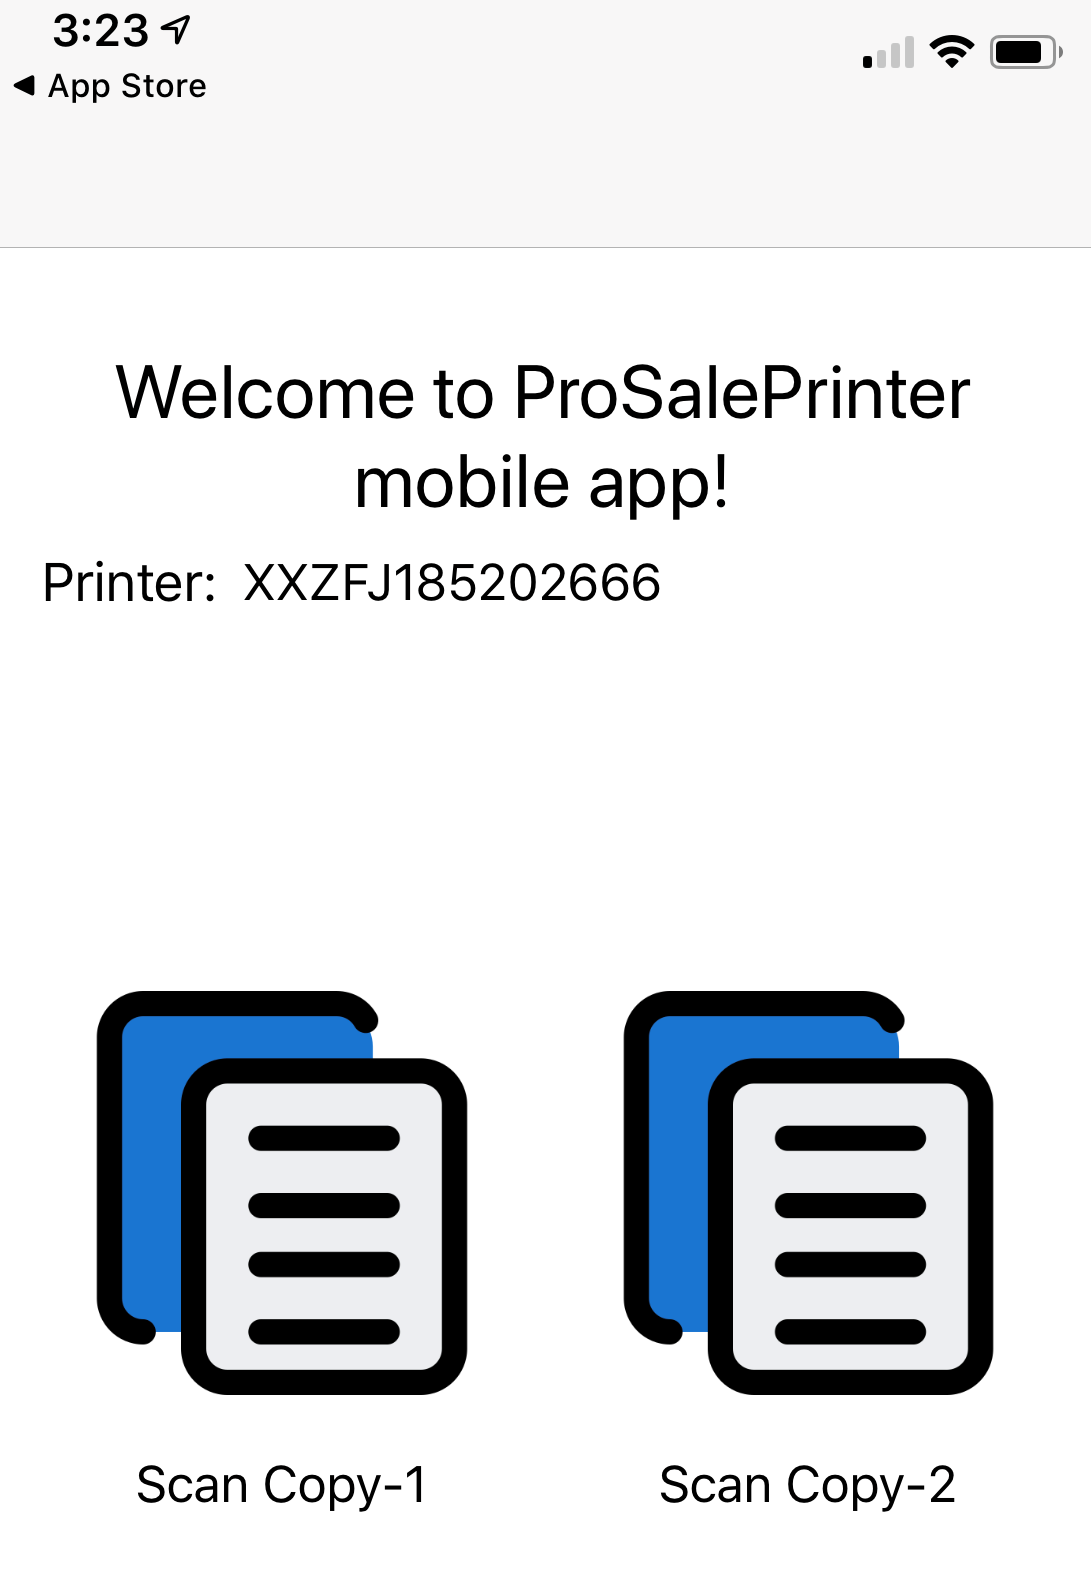
You should now see the screen below. The app has been successfully installed.
When you return to PROSALE, your printer will be available for printing. Just click the printer icon next to the inventory listing, or chose to Save and Print Barcode when in an individual item.
Comments
0 comments
Please sign in to leave a comment.