
This article details step-by-step instructions on connecting your integrated Zebra ZQ320 or ZQ620 printer to a Windows device in order to print labels and receipts from PROSALE.
Please note, your Zebra printer must be connected to your Windows device by a USB connection.
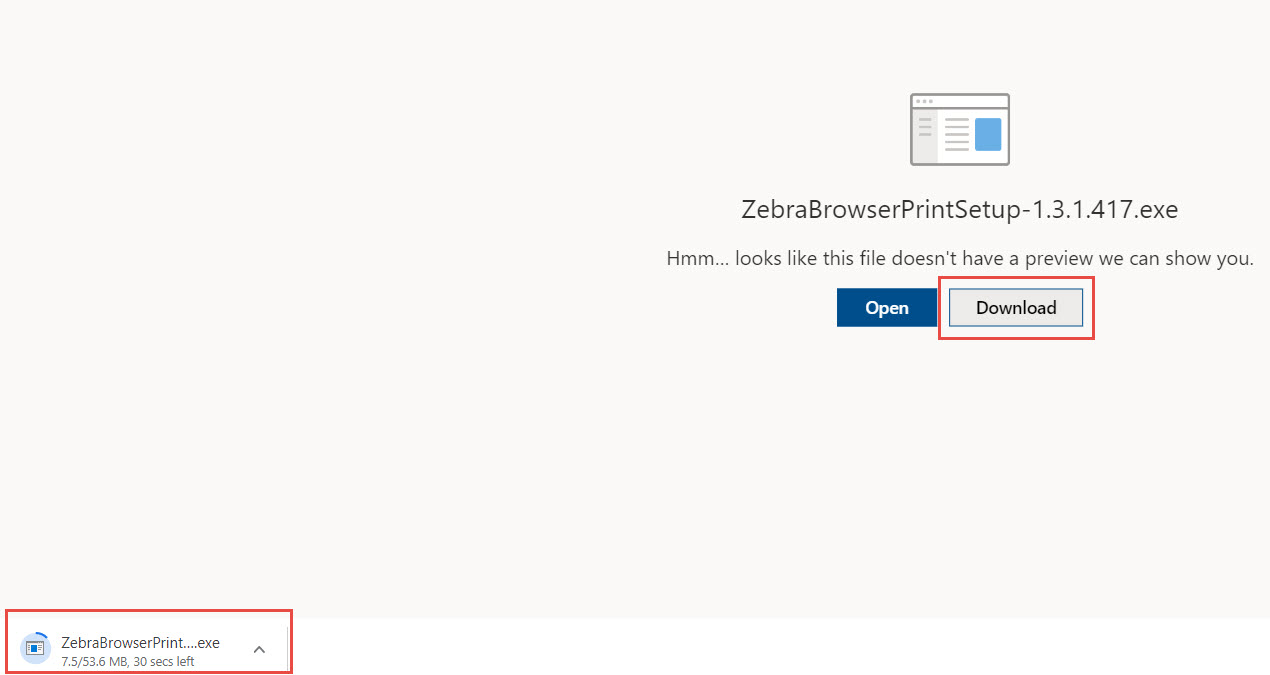
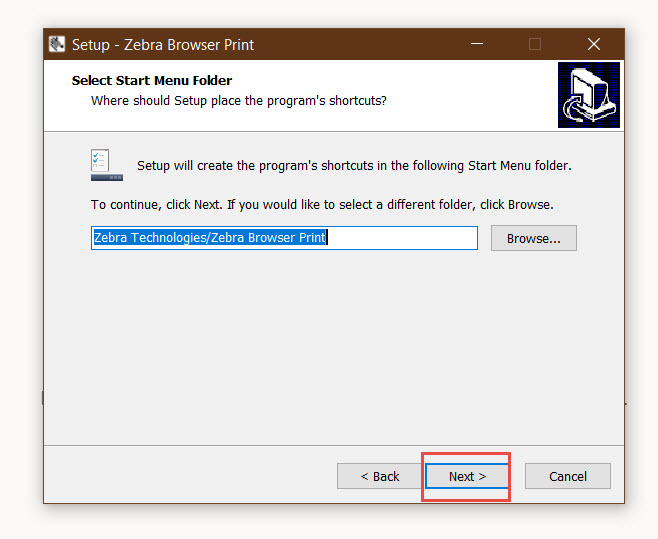
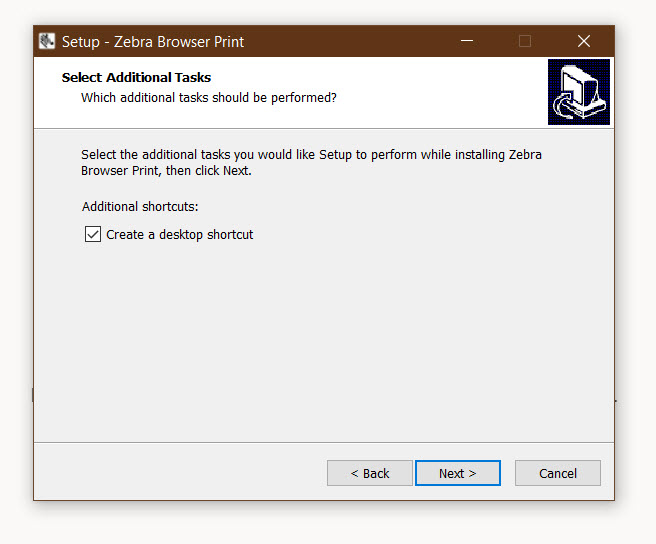
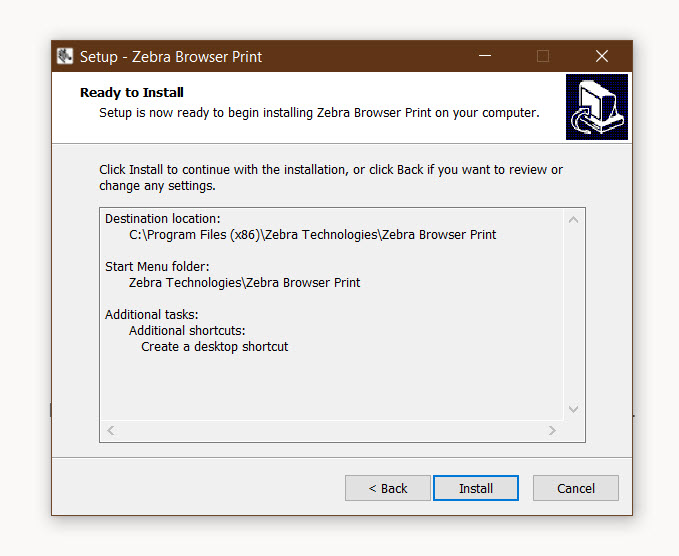
First, download and install the BrowserPrint application (Windows).
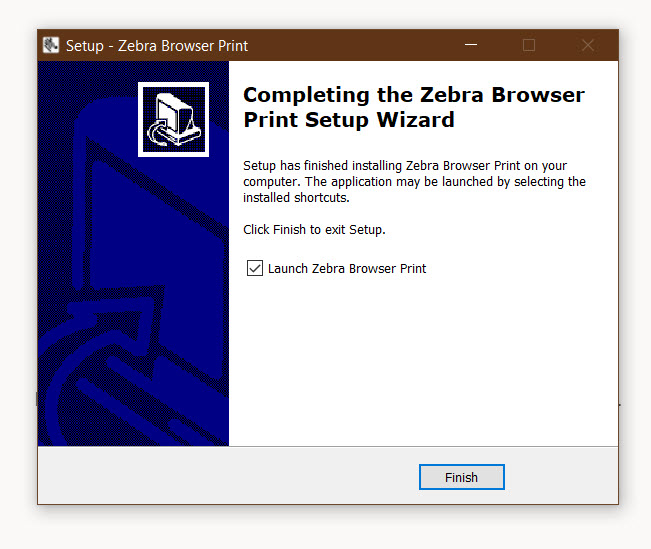
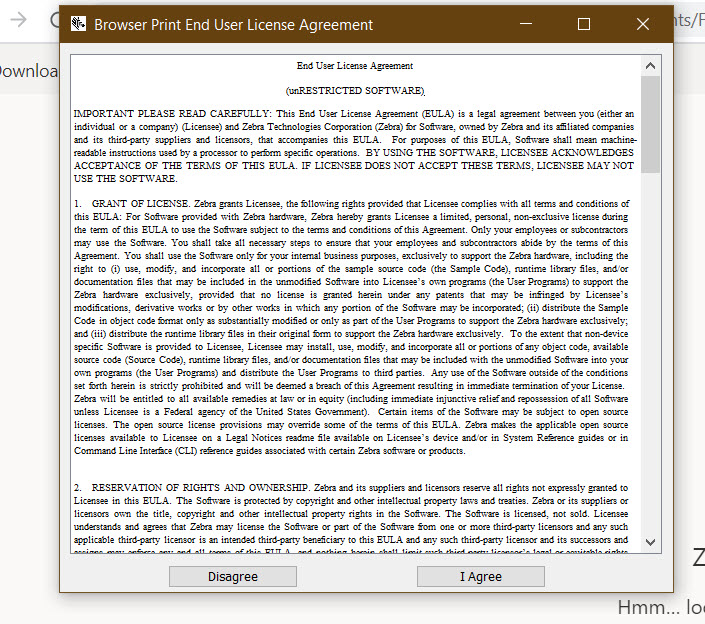
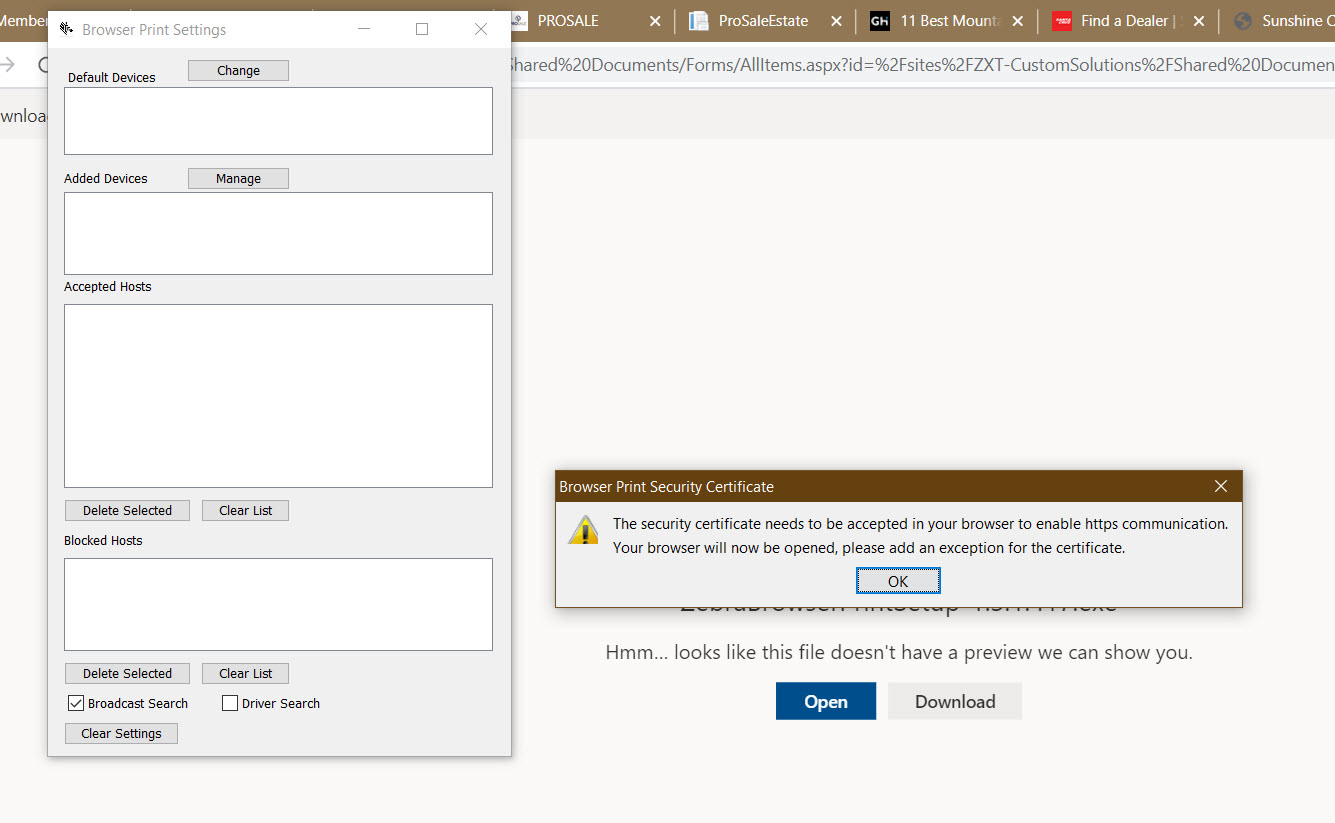
Once installed, you will need to select "I Agree" to the End User License Agreement and then accept the Browser Print Security Certificate to your browser.
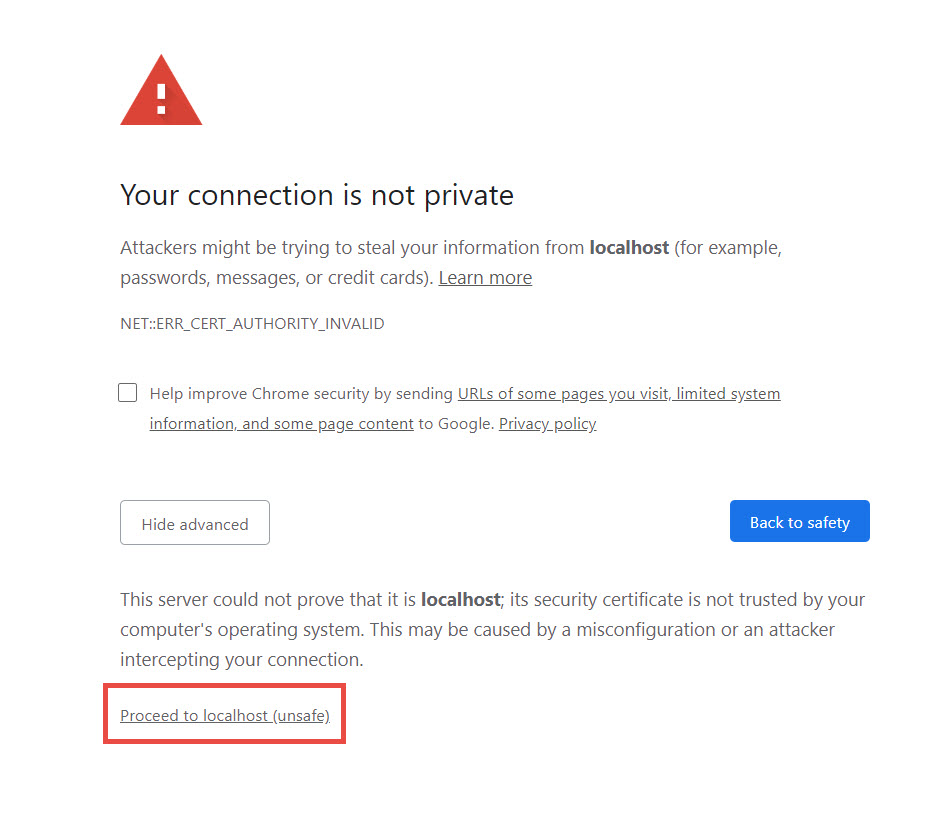
If you are using Chrome as your browser, you may receive a message that the connection is not private. Please navigate to the Advanced option and Proceed to localhost. Chrome flags sites without SSL encryption, which is not needed in this case.
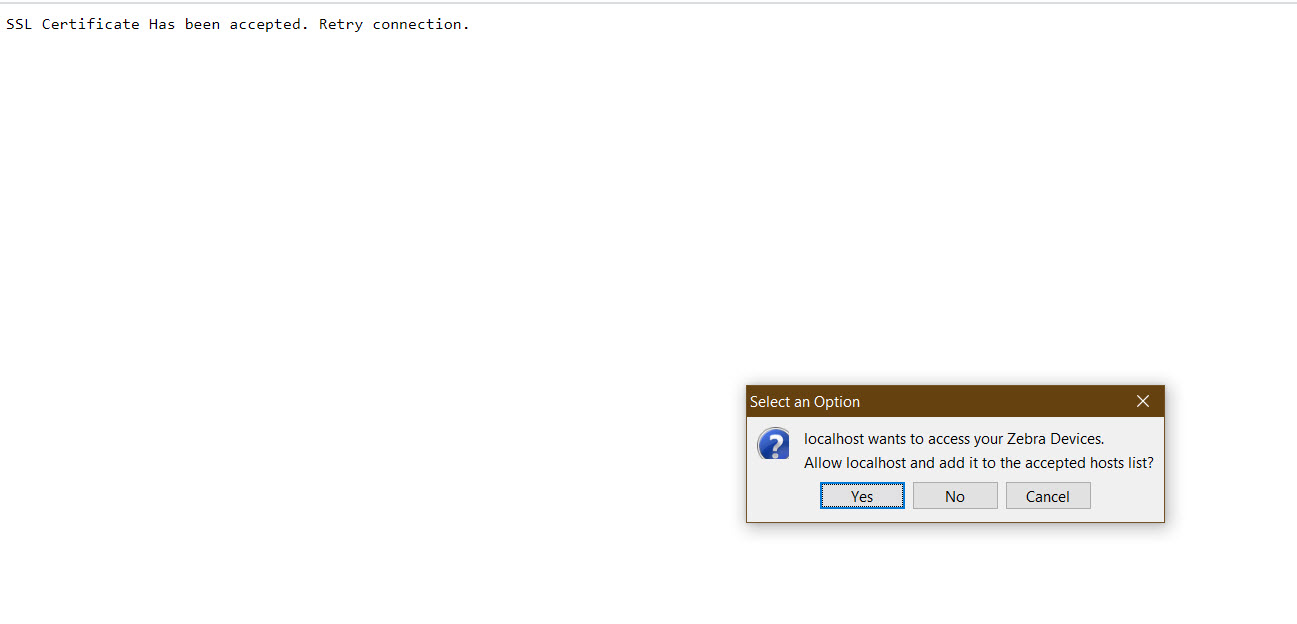
You will now be able to grant localhost access to your Zebra printer.
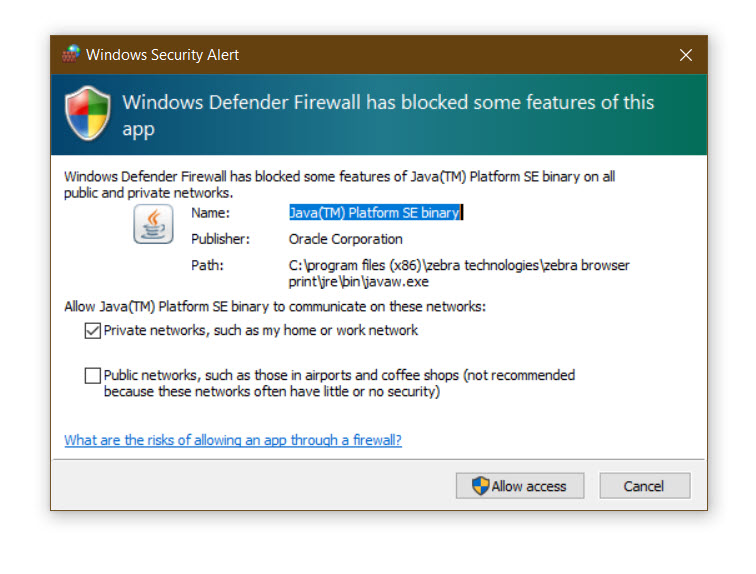
It is possible that you may also need to Allow Access to the Zebra BrowserPrint app, or some of its features, with your anti-virus software. An example is below.
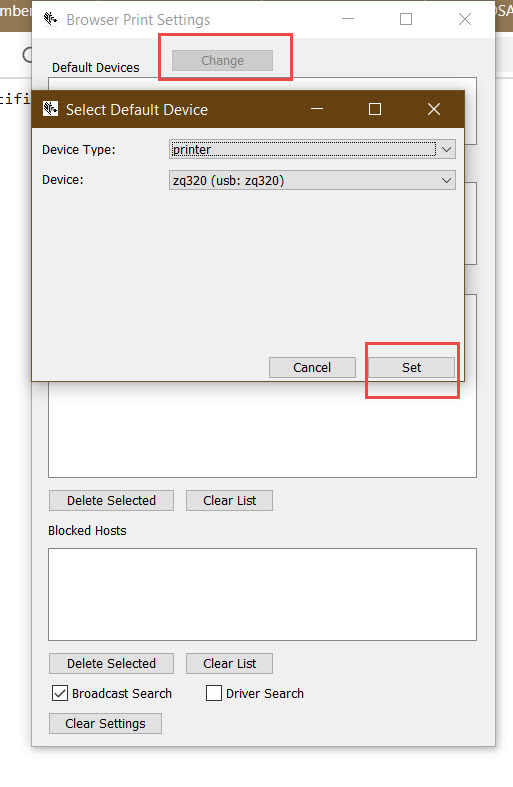
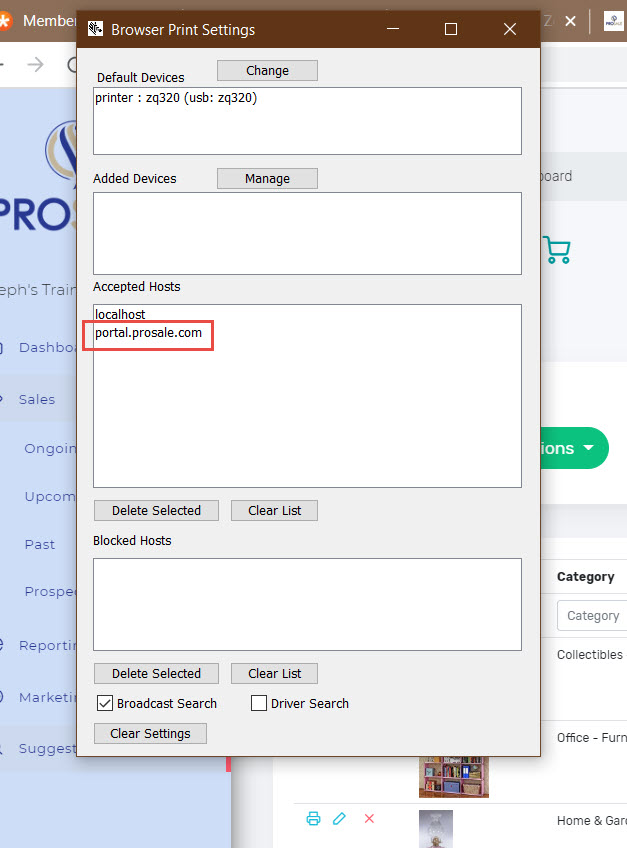
Setup is almost complete. In the Zebra BrowserPrint app, click the Change button next to Default Devices. It will search for a Zebra printer and it should show up in the list, if not, check your printer USB connection and make sure the printer is turned on. Once it shows in the list, click the Set and it should now show in the Default Devices list.
When you return to PROSALE and begin to enter inventory for the first time, you will be prompted to add PROSALE as an Accepted Host. Choose Yes.
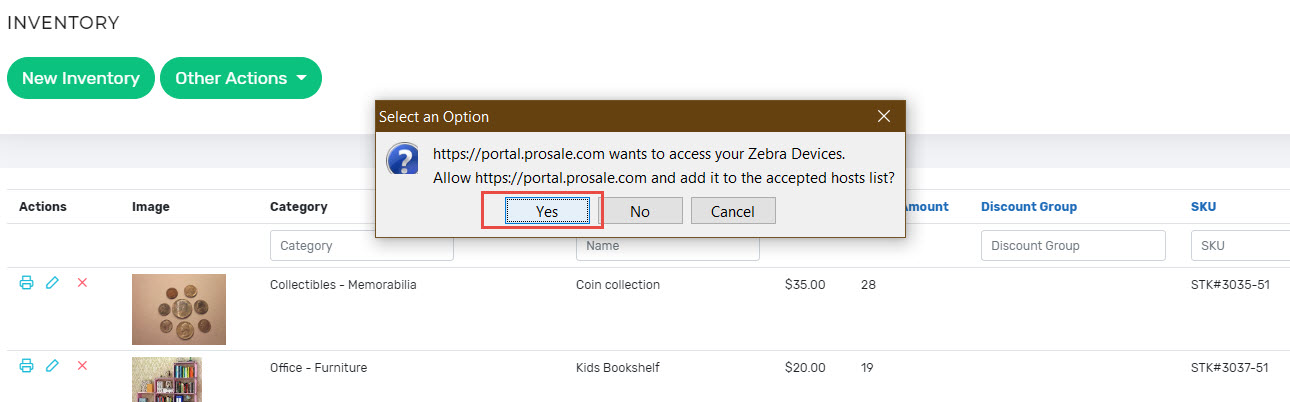
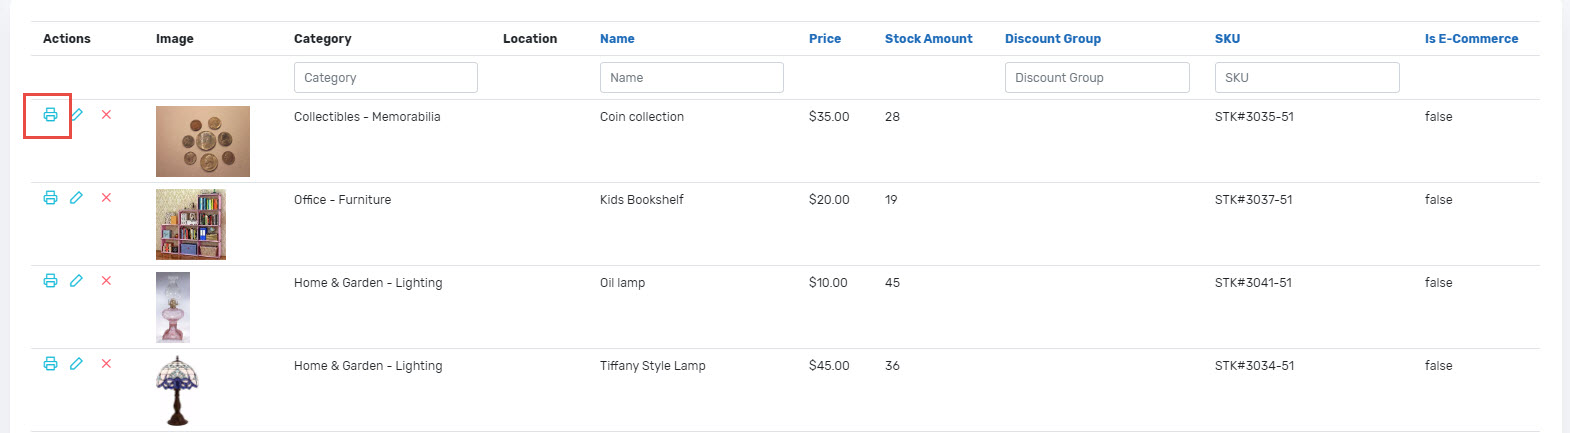
You should now see the screen below in Inventory with the option to print labels. The app has been successfully installed.
Comments
0 comments
Please sign in to leave a comment.