
Learn how to configure and setup the automated discounts for a sale by following the article below. If you need to setup discounts by groups of products you can review the article for Discount Group Setup here: https://support.prosale.com/hc/en-us/articles/360042448692-Discounting-Discount-Group-Setup
Step 1) Login and navigate to the sale that you need to configure for automated discounts.
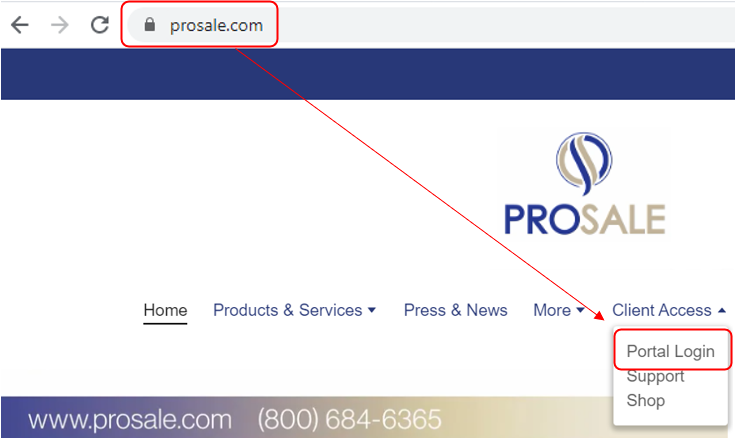
1. Visit https://prosale.com to navigate to the login screen.
Step 2) Navigate to the Schedule tab of the client sale that you want to configure.
1. Navigate to the client sale.
Select Ongoing sales from the Sales section of the menu. Click the edit Pencil next to the sale that you intend to configure.

2. Select the Schedule tab from the Sale Dashboard.

Step 3) Configure and setup the schedule.
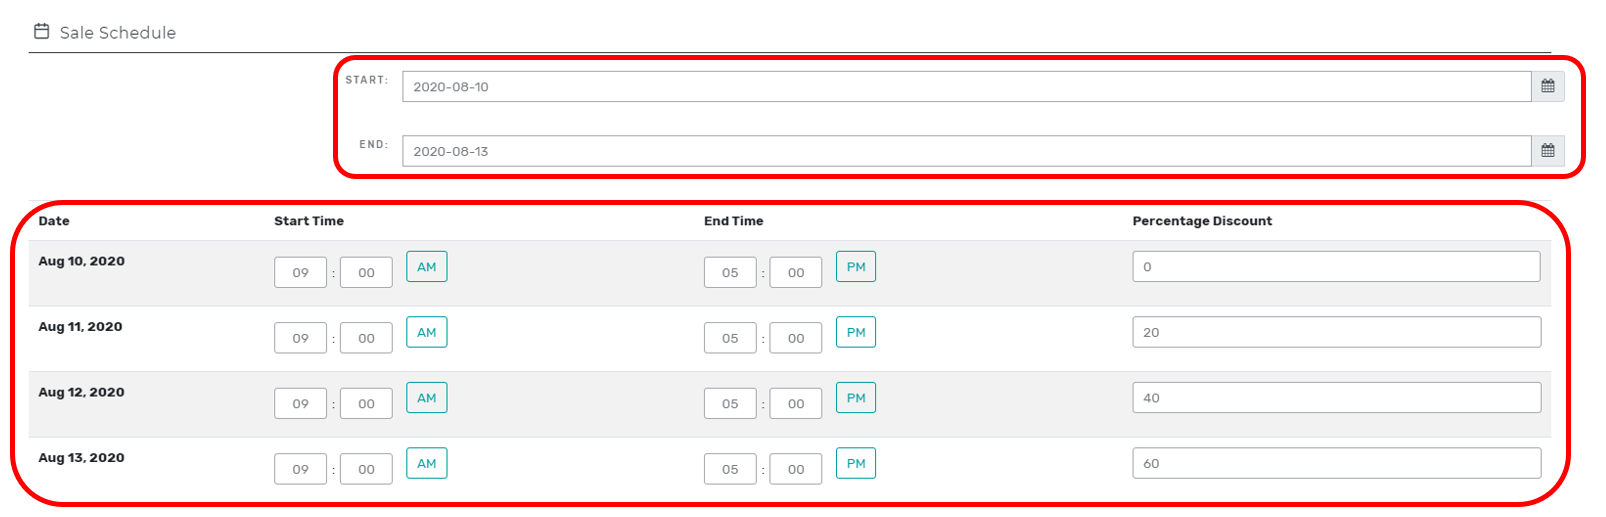
Scroll down to the Sale Schedule section of the page to enter the dates of the sale. Once you have entered the start date and end date of the sale you will see a table below the start and end date selector tool. This table gives you the ability to set the start time of the sale and the end time of the sale for each day the sale is active.
There is a column titled "Percentage Discount". This is the column where you enter the discount that you want applied to the sale for each day.
NOTE: The discount for each day will not apply on that date until the start time of the sale has arrived. Therefore, if your sale is live on E-Commerce and you wan the sale discount to start at 12:01 am, you must select 12:01 am as the start time for that day's discount.
ADDITIONAL FEATURES AND OPTIONS
You may choose to create multiple levels of discounts in order to sell different groups of items that will follow their own separate discount automation schedule by configuring Discount Groups. Please review the article below for instructions on how to create multiple different discount levels.
https://support.prosale.com/hc/en-us/articles/360042448692-Discounting-Discount-Group-Setup
Comments
0 comments
Please sign in to leave a comment.